Portable Generator Is Leaking Oil: Safe Inspection Points and Service Decisions
A portable generator leaking oil deserves attention before the next start. A small wet spot can come from spilled oil during filling or a generator that was tipped during transport. But oil that returns after cleaning, forms drops underneath, or lowers the crankcase level can point to a seal, gasket, drain, breather, or engine-case problem.
Safety first: Shut the generator down, let the engine cool fully, disconnect all loads, and inspect it outdoors on a dry, level surface. Never run a portable generator in a garage, shed, or other enclosed area; engine exhaust contains carbon monoxide. Keep ignition sources away from oil and fuel, and do not refill fuel while the engine is hot.
This guide is for a visual inspection and a sensible service decision, not a substitute for the owner’s manual. The exact layout of the engine, oil drain, filter, crankcase breather, and service panels varies by generator. If the source is not plainly visible, consult the manual for the exact model or use an authorized service professional.
First, confirm that it is engine oil
Before assuming there is an oil leaking from generator engine problem, look at the fluid carefully without putting your hands near hot or moving parts. Fresh engine oil is often amber to brown; used oil may be dark brown or black. It feels slick and leaves an oily film on a clean white rag.
Gasoline is thinner, evaporates differently, and creates a more urgent fire hazard. If the fluid appears to be fuel, do not start the generator. Follow the safer next steps in our guide to portable generator fuel leaking from the carburetor.
Also consider whether the apparent leak is residue from maintenance. Oil can collect below the filler opening after an overfilled or hurried oil change, then travel along the engine frame and drip somewhere far from its actual origin. Cleaning the area first makes the next observation far more useful.
When a portable generator leaking oil should stay off
Do not start the generator for a “quick test” if any of these conditions apply:
- There is an active drip, a growing puddle, or oil is reaching the muffler, exhaust shield, wiring, receptacles, or fuel system.
- The oil level is below the safe operating range on the dipstick or sight point described in the owner’s manual.
- The engine case, cover, mounting area, or frame shows impact damage, a crack, or a missing fastener.
- The leak followed a drop, hard transport event, rollover, or extended storage on its side.
- Oil is mixed with a strong fuel smell, the oil level has risen unexpectedly, or the oil looks unusually thin.
- There is smoke from an oil-contaminated hot surface, or the generator ran with an oil warning light or low-oil shutdown concern.
Oil on a hot exhaust component can smoke and may create a fire risk. A low oil level can damage the engine. If you are uncertain whether enough oil remains, leave the generator off until you can verify the level exactly as the manual directs. For a warning-light issue without an obvious external leak, see portable generator oil alert light stays on.
Portable generator leaking oil: a safe inspection order
Use this sequence with a cool engine. Wear gloves if preferred, keep absorbent material ready, and avoid using solvent sprays or flammable cleaners around the generator.
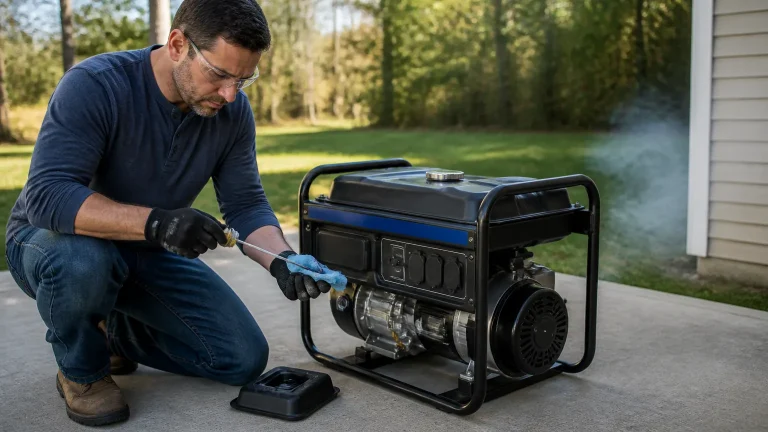
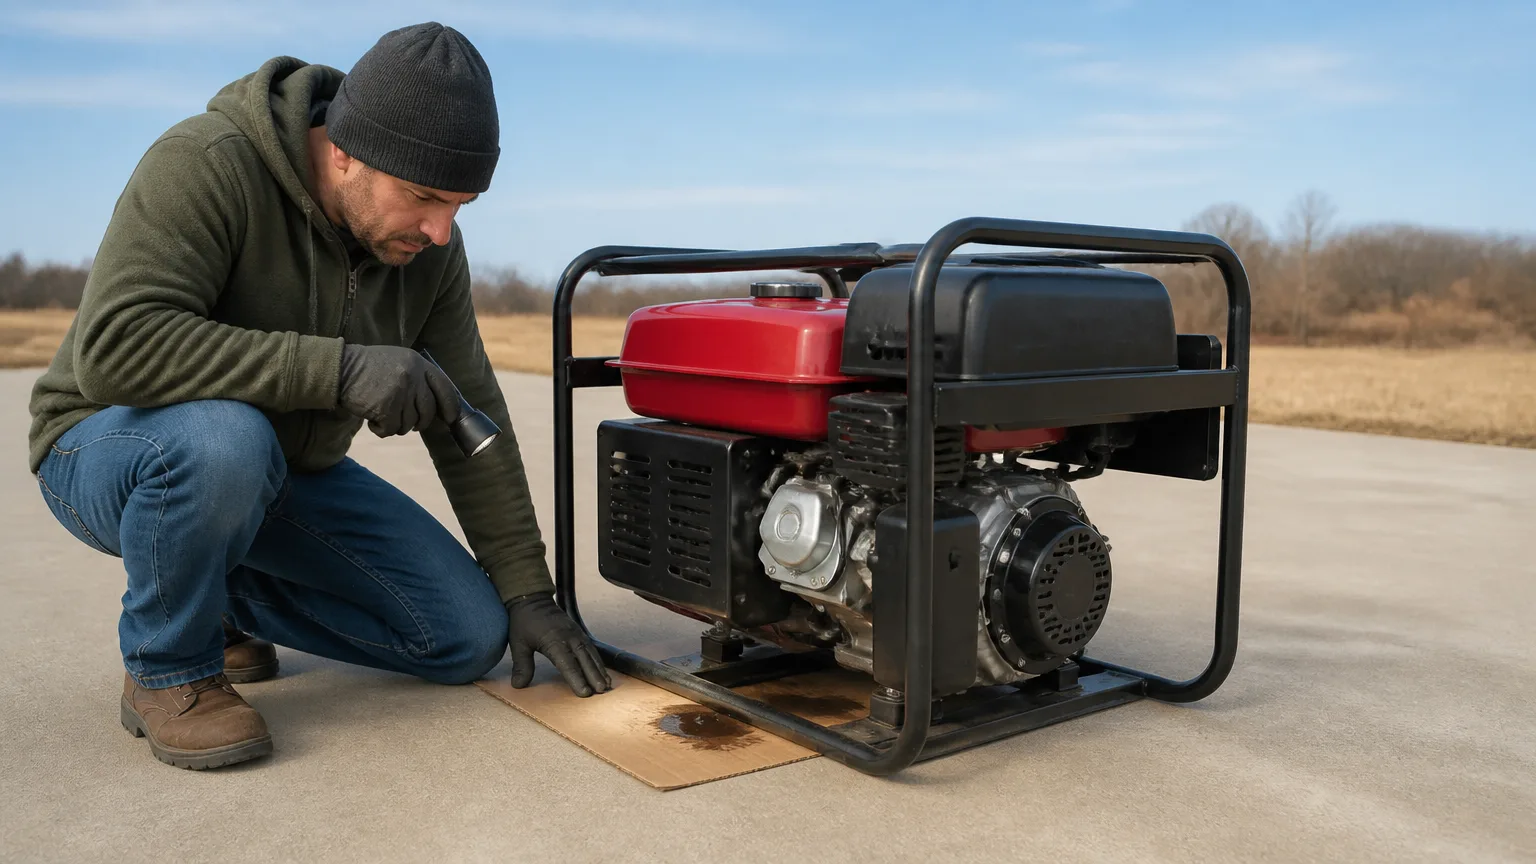
- Move it to a level, well-lit outdoor location. Set the generator where you can see beneath the engine. Place cardboard or an absorbent pad under it. This helps identify the drip location without reaching under a raised machine.
- Check the oil level before wiping anything. Follow the manual’s specified procedure for the dipstick or oil-level port. Some engines require the dipstick to be inserted but not threaded in; others differ. Do not guess. Note whether the level is low, normal, or above the stated range.
- Look for an overfill or spill at the filler point. Inspect the oil-fill cap, dipstick seal, surrounding threads, and the upper side of the engine. Oil above the permitted level can be pushed out through a breather or filler area during operation.
- Inspect the drain point and its surrounding surface. Look for wetness at the drain plug, drain bolt, drain hose, cap, or service extension fitted to your model. A loose, damaged, cross-threaded, or incorrectly sealed drain fitting is a common place for oil to escape after service. Do not overtighten hardware; use the manual’s specified part and tightening guidance.
- Trace upward from the lowest wet point. Oil naturally runs downhill, so the lowest drop is not always the source. With a clean rag, remove existing residue from accessible exterior surfaces. Then look above the wet area for the first fresh line, seam, or concentration of oil.
- Check the breather and air-cleaner area. If the crankcase was overfilled or the generator was laid on the wrong side, oil may move into the breather path or air-cleaner housing. Stop at visual inspection unless the manual provides a safe, model-specific service procedure. Oil in the air-intake area may require cleaning or replacement of affected parts.
- Inspect covers, gaskets, and shaft areas visually. Look around the valve-cover edge, crankcase cover seam, side covers, and areas where rotating shafts exit the engine. Fresh oil at a seam or behind a cover can indicate a gasket, seal, or case issue that is usually best assessed by a service technician.
- Check for clues from handling and storage. Review what happened before the leak appeared: recent oil service, transport in a vehicle, operation on an uneven surface, impact, or storage on its side. These details can help a technician distinguish a simple spill from a mechanical failure.
What the leak location can suggest
Oil around the fill cap or dipstick
Start by confirming the oil was checked and filled using the correct manual procedure. A loose cap, damaged seal, spilled oil, or overfilled crankcase may leave oil high on the engine and create a generator oil leak underneath later as it migrates down. Clean the outside, correct only what the manual clearly identifies, and recheck after the generator has remained level.
Oil at the drain plug, drain hose, or service port
This is often connected to recent oil service. A missing sealing washer, damaged O-ring, incorrect cap position, or damaged threads can allow seepage. Avoid improvised thread sealants, oversized plugs, or force. If the fitting will not seat correctly, if threads are damaged, or if oil continues to drip after a proper manual-guided check, arrange service.
Oil near the air cleaner or breather hose
A tipped generator or excessive oil level can move oil where it does not belong. Do not run the unit with a heavily oil-soaked air filter or visible oil pooling in the intake area. The correct cleanup and inspection depend on the engine design, so use the exact owner’s manual or professional service.
Oil along a gasket seam or behind an engine cover
Oil at a valve-cover gasket, crankcase seam, crankshaft seal, or another covered area is more consistent with a portable generator crankcase oil leak or seal-related problem. These repairs may require disassembly, correct torque values, replacement gaskets or seals, and checks for a bent shaft, excessive crankcase pressure, or impact damage. This is generally a service decision rather than a driveway experiment.
Oil sprayed across the engine or frame
Sprayed or widely distributed oil can result from a leak near a rotating component, a breather problem, or oil thrown outward while the engine was operating. Keep the generator off until the source is identified. It is not safe to treat the visible mess alone as the problem.
How to make a useful service decision
A limited, manual-supported correction may be reasonable when the oil source is plainly a spill or a visibly loose, accessible oil-fill cap and there is no continuing leak. Clean the area, verify the oil level according to the manual, and monitor it only during normal outdoor operation.
Choose an authorized service professional when the source is behind a cover, at a seal or engine seam, involves damaged threads, follows an impact, contaminates electrical components or the exhaust, or cannot be confirmed without running the generator. Professional diagnosis is also the better path if the generator has a warranty that could be affected by unauthorized disassembly.
A generator oil leak repair should address the cause, not merely the visible drip. Replacing a gasket without identifying an overfill, blocked breather, warped cover, or transport-related damage can lead to another leak.
Before returning the generator to use
- Confirm that no oil remains on the muffler, exhaust guard, electrical outlets, cords, or controls.
- Verify the oil level only by the exact method in the owner’s manual.
- Use the generator outdoors, away from doors, windows, vents, and occupied structures.
- Keep it level during operation and do not exceed the unit’s electrical limits.
- Check beneath the generator after use for fresh drops, and stop using it if the leak reappears.
Do not connect a portable generator directly to household wiring unless a properly installed transfer system is in place. If the generator also runs roughly once the oil issue is resolved, avoid assuming the two problems are related; use a separate diagnostic path for a portable generator that runs rough under load.
The practical bottom line
A portable generator leaking oil may have a simple explanation, especially after oil service or transport, but it should never be ignored. Inspect with the engine cool, on level ground, and without taking apart sealed engine components. Stop using the generator when the oil level is low, the leak is active, oil reaches hot or electrical parts, or damage is visible. For persistent seepage at a gasket, shaft seal, crankcase seam, or concealed area, the safest next step is the exact owner’s manual and qualified service.