Pressure Washer Detergent Tank Is Leaking: Tank, Cap, Hose, and Chemical-Safety Checks
A pressure washer detergent tank leaking problem is usually easier to isolate than a pump or high-pressure hose leak. The detergent reservoir, cap, pickup tube, and low-pressure chemical connection are accessible on many machines. Still, detergent can irritate skin, damage finishes, and create a slippery work area, so stop using the washer until you know where the liquid is coming from.
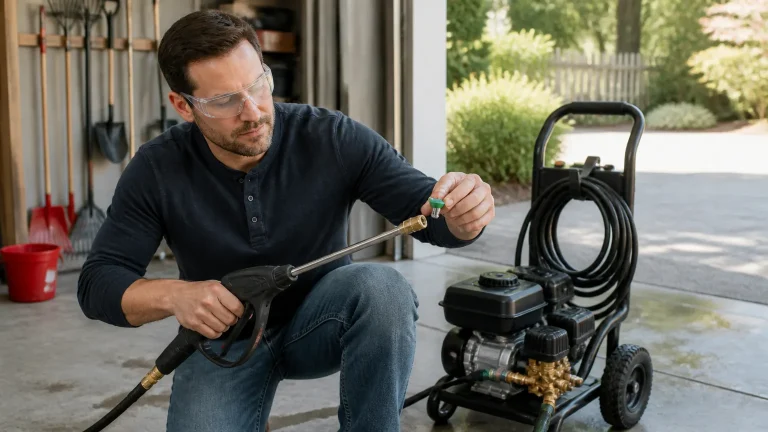
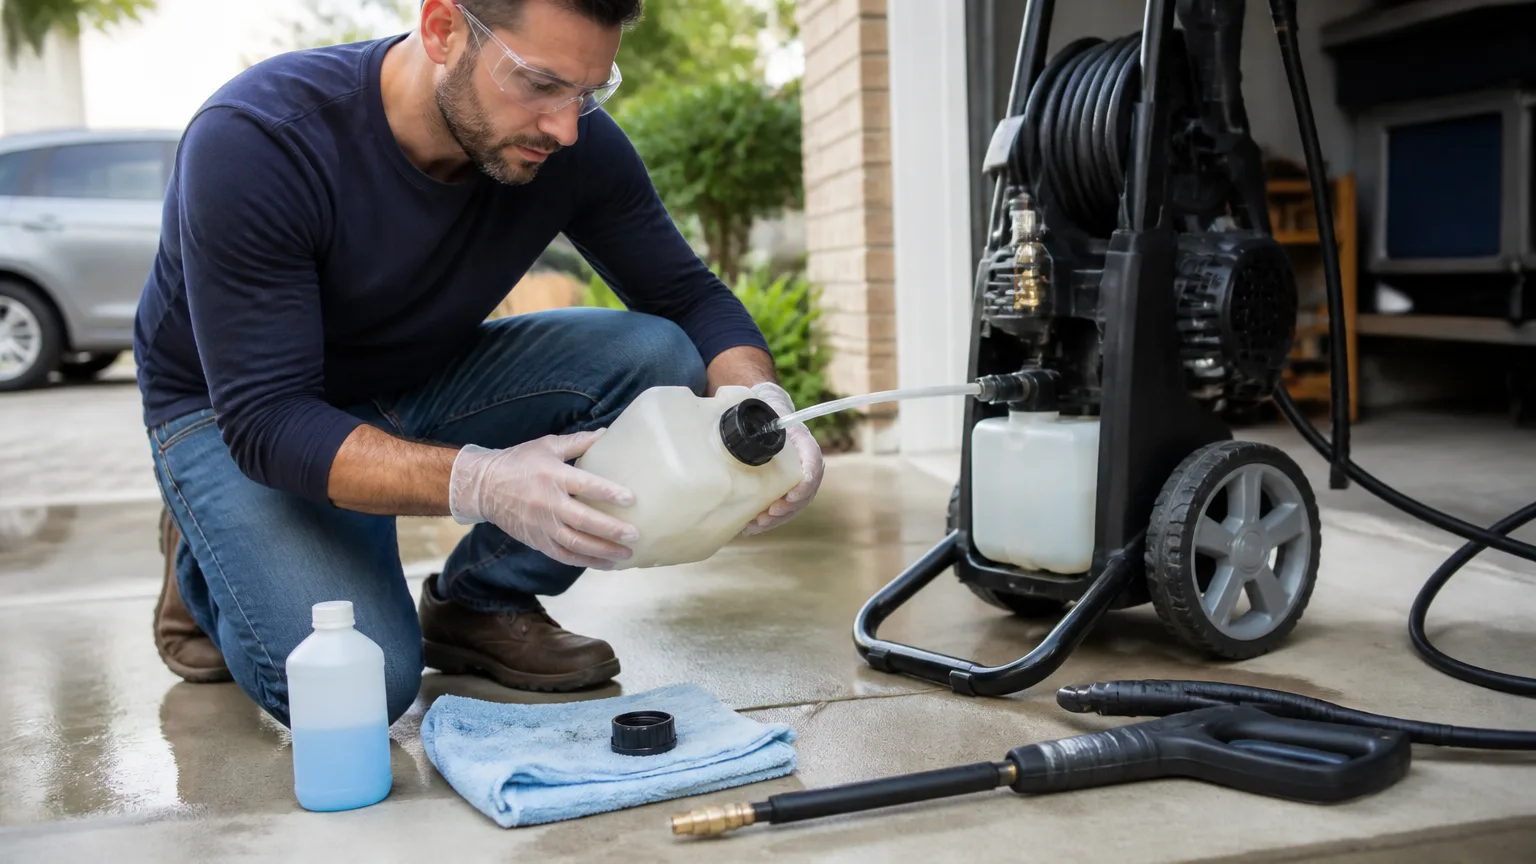
Safety callout: Shut the machine off, turn off the water supply, release trapped pressure through the spray gun in a safe direction, and engage the trigger lock before inspecting anything near the pump, hose, or detergent system. Wear eye protection and chemical-resistant gloves appropriate for the detergent label. Do not aim a pressure-washer spray at yourself, other people, animals, or electrical equipment.
Use only a detergent made for pressure washers and follow its container directions. Manufacturer guidance also warns against using bleach, caustic cleaners, or flammable solvents in the detergent system. These products can create equipment damage or chemical hazards beyond a simple leak. SIMPSON’s detergent guidance and the applicable owner’s manual are useful references for the type of cleaner your washer can use.
The first goal is to identify whether you have a true detergent leak or leftover liquid draining from the pickup tube after use. A few drops from a disconnected siphon tube may be normal. A growing puddle, wet frame, cracked tank, or liquid appearing when the washer is parked points to a fault that needs attention.
Pressure washer detergent tank leaking: find the source before buying parts
Dry the outside of the detergent tank, cap, hose, frame, and nearby pump area with a disposable towel. Put a clean piece of cardboard under the washer if practical, then add only a small amount of clean water to the detergent tank. Water makes tracing the source safer and less wasteful than repeatedly handling concentrated cleaner.
Do this with the engine or motor off and the system depressurized. Watch for moisture at the tank seam, cap threads, cap vent, hose connection, filter end, or chemical-injection fitting. If the leak occurs only during detergent use, inspect the hose routing and connection while the washer is off rather than reaching around a running engine or energized electric unit.
- Check the tank body and mounting points.
- Check the cap, seal, and fill level.
- Follow the pickup hose from tank to pump.
- Inspect the low-pressure injector connection.
- Flush and retest with clean water.
Inspect the detergent reservoir for cracks, split seams, and distortion
A detergent reservoir leaking on a pressure washer often has a visible crack near the bottom, molded seam, mounting tab, or neck below the cap. Small cracks can be hard to spot when the tank is dirty, so inspect it under good light after cleaning and drying it.
What the leak pattern can tell you
- Leak from the bottom while parked: Look for a split tank, damaged drain plug if equipped, or a hose that has pulled free from a low-mounted outlet.
- Leak at a seam after filling: Suspect a cracked or chemically weakened tank. Do not rely on glue, tape, or sealant unless the exact owner’s manual explicitly authorizes that repair.
- Leak only when the frame moves: Check whether the tank is rubbing against a wheel, bracket, engine shroud, or sharp frame edge.
- Leak around a mounting tab: A loose tank can flex during transport and reopen a small crack. Inspect the retaining hardware and replace damaged tank mounts as specified for the model.
Replace a cracked detergent tank rather than attempting an improvised repair. Chemical compatibility, vibration, and temperature changes can make a patched reservoir fail again without warning. For a pressure washer chemical tank replacement, use the exact model number from the washer’s data plate to find the correct reservoir, cap, and related fittings. If the tank is part of a larger detergent assembly, an authorized service professional can confirm which components are sold separately.
Check the detergent cap, gasket, vent, and fill level
If the tank is sound but the top is wet, the cap is the likely source. Remove it only after the washer is shut down and pressure has been released. Check for crossed threads, a cracked cap, a flattened gasket, missing seal, or debris on the sealing surface.
Do not overtighten a plastic cap. It can distort threads or crack the neck. Instead, clean the mating surfaces, reinstall the cap squarely, and tighten it by hand as the manual indicates. Some detergent caps use a pickup tube through the cap, so make sure that tube sits in its intended opening and the cap is fully seated. Generac manuals, for example, show a detergent setup in which the siphoning tube passes through the tank cap. Consult the relevant manual’s detergent-tank diagram before changing the arrangement.
Also check the fill level. Overfilling can push detergent out through a vented cap or around threads when the washer is moved over uneven ground. Keep the washer upright during use and transport, and leave space below the cap rather than filling to the brim.
Trace the soap hose and pickup filter
A pressure washer soap tank leaking complaint may actually be a loose, hardened, kinked, or split pickup hose. Follow the small detergent hose from the reservoir to the chemical injector or pump fitting. Look especially at both ends, where stretching and chemical exposure are most likely to cause trouble.
Hose checks that are worth making
- Confirm the hose is fully seated on its barb or fitting and has not slipped down.
- Look for cloudy areas, swelling, abrasion, cracks, pinholes, or a hose that feels brittle.
- Make sure the hose is not pinched by a tank bracket or bent sharply around the frame.
- Inspect the pickup filter and its connection. A loose filter may not create a leak itself, but it can allow the tube to move and drip inside the frame.
- Check that the tube reaches the bottom of the tank without being forced, folded, or trapped beneath the cap.
Replace a damaged detergent hose with the correct chemical-compatible replacement part or an exact equivalent authorized for the washer. Avoid substituting random tubing from a hardware bin: its inside diameter, flexibility, and resistance to the cleaner may be unsuitable. Pressure-washer detergent systems operate on the low-pressure side, but that does not make every hose safe for the job.
If you are also working around the high-pressure hose connection, use a separate diagnostic process. A leaking chemical line should not be confused with a damaged high-pressure hose or coupler. See Pressure Washer Hose Leaks at the Connection for safe checks of those pressurized fittings.
Inspect the chemical injector fitting without disassembling the pump
On washers without a built-in tank, the siphon hose commonly connects to a small barbed fitting near the high-pressure outlet. On models with an onboard tank, the tube may connect at a similar low-pressure injector fitting. If liquid is collecting there, first verify that the hose is properly seated and not split.
Do not remove pump fittings, valves, or housings unless the exact manual provides the procedure and you are equipped to do it safely. A leak at the injector body, pump casting, or an inaccessible internal check valve may require service rather than a simple hose replacement. SIMPSON’s leak troubleshooting similarly advises depressurizing the washer before checking connections and directs pump-body leaks to trained service personnel. That distinction matters when locating the leak.
If the detergent is not drawing correctly as well as leaking, confirm that you are using the required low-pressure soap nozzle or setting. Many washers will not draw detergent with a high-pressure nozzle installed. That issue is separate from a tank leak, but it can lead owners to overfill the reservoir or repeatedly reconnect hoses unnecessarily.
Pressure washer detergent spill cleanup: handle the liquid first
For a small pressure washer detergent spill cleanup, keep people and pets away from the area, prevent slips, and follow the detergent container’s first-aid and cleanup instructions. Wear the protective equipment specified on the label. Absorb a small spill with suitable disposable material, collect it for disposal as directed by the product label and local requirements, and rinse the affected surface only if the label permits.
Do not pressure-wash concentrated detergent into a storm drain, garden bed, pond, or other sensitive area. Do not mix the spilled detergent with another cleaner in an effort to neutralize it. If the product contacts eyes or skin, or if the spill is large, consult the product label immediately and seek appropriate professional or emergency guidance when indicated.
Once the spill is addressed, clean residue from the washer frame with a damp cloth while avoiding electrical controls, engine openings, and hot components. Let the machine dry before storage.
Flush the detergent system after the repair
After correcting the source, add clean water to the tank or place the pickup tube in a container of clean water. Operate the detergent system only as your manual directs, using the low-pressure detergent nozzle where required, until detergent is cleared from the tube. Generac instructs owners to flush the detergent siphoning system after each use, while Campbell Hausfeld manuals likewise call for rinsing the detergent attachment or suction system with clean water. This helps limit dried detergent deposits in the tube and injector. Follow the shutdown and flushing sequence in your own manual.
Then shut the machine down correctly, relieve pressure, and look again for drips. A clean-water test that stays dry is a better confirmation than assuming a tightened cap fixed the problem.
When replacement or professional service is the safer choice
Stop using the detergent system and arrange service if the tank is cracked, the pump or injector body leaks, the correct replacement part is unclear, or detergent has reached an electrical component or hot engine area. Replace the tank, cap, or hose when it is visibly damaged rather than waiting for a larger spill.
Finally, do not confuse detergent leakage with a pump freeze crack or ordinary water leakage. If you find water around the pump housing, especially after winter storage, review Pressure Washer Pump Freeze Damage before continuing to operate the machine. The safest repair starts with identifying the exact fluid and the exact location where it begins.