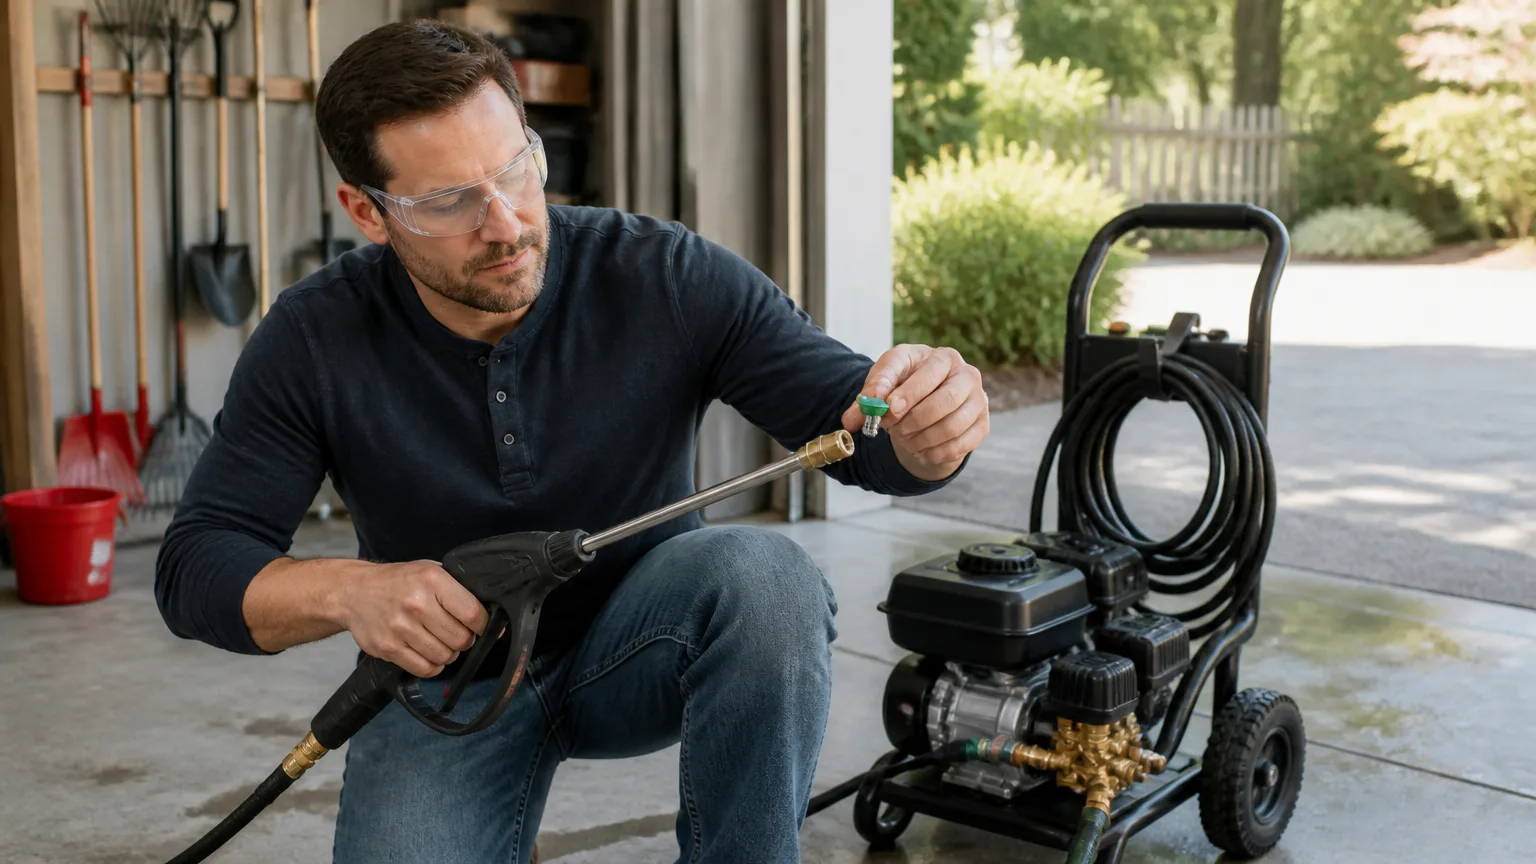
Pressure Washer Nozzle Keeps Falling Out: Wand Retainer, Tip, and O-Ring Checks
If a pressure washer nozzle keeps falling out, stop using the machine until the tip stays locked in the wand. A quick-connect tip should seat fully behind the wand coupler’s retaining mechanism. If it pops free under pressure, the problem is commonly incomplete insertion, a damaged or worn tip stem, a sticking collar, worn retaining parts inside the coupler, or a mismatched replacement tip.
Safety first: Shut off the engine or unplug an electric washer, turn off the water supply, squeeze the trigger in a safe direction to release stored pressure, and engage the trigger lock before inspecting the wand or tip. Never point the gun at people, pets, or yourself.
This guide focuses on the common 1/4-inch quick-connect style found on many consumer pressure-washer wands. The exact coupler design can vary by model, so use your owner’s manual and the correct manufacturer-approved replacement parts whenever the fit or service procedure is uncertain.
Why a pressure washer nozzle keeps falling out
A quick-connect wand holds the spray tip with a sliding outer collar, an internal spring, and small retaining elements inside the female coupler. Pulling the collar back opens the coupler. Releasing it after the tip is fully inserted should let the collar return forward and capture the groove in the tip’s plug.
That means a nozzle that will not stay installed is usually a mechanical retention issue, not a pump problem. The washer may still build pressure normally, but pressure and vibration can force out a tip that was only partly engaged or is no longer held securely.
- Incomplete engagement: The collar did not return completely after installation, or the tip was not pushed in far enough.
- Debris in the coupler: Dirt, dried detergent, corrosion, or a damaged internal part can prevent the collar or retainers from moving normally.
- Worn tip plug: The grooved end of the nozzle can become nicked, rounded, corroded, or otherwise damaged.
- Damaged wand coupler: A weak spring, rough collar travel, or worn internal retaining parts can leave the tip insufficiently captured.
- Wrong or incompatible replacement: Two parts described as quick-connect may not always have the same tolerances, pressure rating, or intended application.
- Confusing a seal problem with a retention problem: An O-ring can cause a leak at certain connections, but it generally does not perform the main retaining job for a standard quick-connect spray tip.
Check the quick-connect wand retainer first
Start with the wand’s coupler rather than buying a new set of colored tips. The collar should slide back smoothly when the system is depressurized, then return fully forward when released. Do not force it with pliers or attempt to defeat the locking mechanism.
- Depressurize and secure the machine. Shut it down, shut off the water, discharge pressure through the gun, and lock the trigger. For a gas unit, let hot parts cool before handling the wand.
- Remove the tip. Pull the coupler collar back, remove the nozzle, and let the collar return. Notice whether it snaps forward positively or feels slow, gritty, loose, or stuck.
- Look into the coupler. Use good lighting to check for visible dirt, rust, broken pieces, or a retaining component that appears out of place. Do not insert sharp picks or improvised tools deep into the fitting.
- Clean only what is accessible. Wipe the outside and opening with a clean lint-free cloth. If the manufacturer allows cleaning for your model, follow that instruction. Avoid packing the coupler with grease, oil, or chemicals that can collect debris or affect seals.
- Reinstall the tip correctly. Pull the collar fully back, push the tip straight in until it bottoms, release the collar, and lightly tug the tip outward by hand. The collar must be fully forward and the tip must not pull out.
- Do a low-risk confirmation. With the wand pointed at a safe surface and everyone clear, restore the water supply and follow the startup procedure in the owner’s manual. If the tip shifts, leaks abnormally, or releases, shut the washer down immediately.
Some manufacturer instructions specifically call for pulling back the quick-connect collar, inserting the nozzle, releasing the collar, and twisting or checking the nozzle to confirm it is secure. That final hand check matters: do it every time a tip is changed.
When the collar will not return fully
A collar that stays partly retracted cannot reliably hold the spray tip. Stop there if you see damage, binding, severe corrosion, or a collar that moves without spring resistance. In many cases, replacing the complete wand or the serviceable quick-connect coupler is safer and more practical than trying to rebuild tiny internal retainer parts without an exact parts diagram.
Consult the exact owner’s manual or an authorized service professional for model-specific coupler service. A wand assembly must be rated for your washer’s pressure, flow, temperature, and connection type. “Universal” does not automatically mean compatible with every setup.
Inspect the spray tip before assuming the wand has failed
A pressure washer tip will not stay in wand if the plug end cannot be captured properly. Compare the troublesome tip with another known-good tip from the same machine, but only while the system is off and depressurized.
What to inspect on the nozzle plug
- The retaining groove near the end of the metal plug should be clean and clearly formed, not flattened or chipped.
- The plug should be straight. A bent tip can enter at an angle and interfere with full engagement.
- Check for heavy rust, paint overspray, packed dirt, or burrs that make insertion rough.
- Look for a damaged or loose nozzle body. Do not try to reshape the plug with a file, hammer, or vise.
- Verify that the replacement is intended for the wand and is correctly rated for the pressure washer.
If only one tip pops out while the others install, lock, and pass a gentle pull test, replace that tip first. If every tip has the same problem, the wand coupler is the more likely suspect.
Do not continue cleaning by holding a loose tip in place, wrapping the connection with tape, adding a clamp, or modifying the collar. Those workarounds can turn a simple spray tip retainer problem into an impact and high-pressure spray hazard.
O-ring checks: important for leaks, usually not for tip retention
It is reasonable to inspect O-rings when you are already checking the wand, but identify the connection first. On many pressure washers, O-rings seal threaded fittings such as the spray gun-to-wand or hose-to-gun connection. A split, flattened, missing, or contaminated O-ring can cause water to leak at that joint.
In contrast, the removable quick-connect nozzle is normally secured by the coupler’s collar and internal retainers. Replacing an O-ring at a nearby threaded joint will not usually cure a pressure washer nozzle pops out condition.
With pressure fully released, inspect accessible O-rings at the gun-to-wand connection if that area is leaking. Replace only with the correct size and material specified for the equipment. Manufacturer guidance for one spray-gun-to-wand leak procedure advises replacing damaged O-rings and, where applicable, using white lithium grease on intact O-rings. Follow your own model’s manual because lubricant guidance and serviceability differ by connection and manufacturer.
If the spray gun body itself is cracked or leaking, do not disassemble it unless its manual explicitly identifies user-serviceable parts and procedures. Replace the assembly or have it evaluated by an authorized service professional.
For a separate fitting that is stuck rather than ejecting tips, see our pressure washer quick-connect fitting will not release guide.
Match parts carefully during pressure washer wand nozzle replacement
When replacement is necessary, replace the failed component rather than mixing questionable parts from several sets. A pressure washer wand nozzle replacement may mean a new spray tip, a complete wand, or a replacement coupler designed for the particular wand.
Before ordering, confirm these details from the equipment label, manual, or manufacturer parts list:
- Pressure washer model number and serial-number range, if applicable.
- Whether the wand uses a standard quick-connect nozzle interface or a proprietary system.
- The washer’s rated pressure, flow, and cold- or hot-water use.
- The gun-to-wand connection type and wand length, if replacing the entire wand.
- The correct nozzle orifice and spray pattern for the machine. Color alone is not enough to establish compatibility.
A mismatched nozzle can create more than a retention concern. It may change operating behavior or load the pump differently than intended. Use the nozzle selections and accessory guidance in the exact owner’s manual rather than selecting a tip solely by spray angle.
When to stop troubleshooting and replace the wand
Replace the wand or have it professionally serviced when the collar will not lock forward, any internal retainer appears damaged, the coupler is cracked, the tip releases after correct installation, or the connection leaks and cannot be corrected with the specified seal. Stop immediately if the tip has already ejected during operation.
Also inspect the rest of the spray assembly for obvious damage. A damaged high-pressure hose should be replaced, not repaired. If the problem started after freezing weather and you also notice cracks or leaks elsewhere, review our pressure washer pump freeze damage checks before returning the washer to service.
A practical final check before washing
After correcting the cause, use this brief routine every time you change tips:
- Machine off, water off, and pressure released.
- Pull back the coupler collar fully.
- Insert the correct clean tip straight and fully.
- Release the collar and verify it returns all the way forward.
- Twist and gently pull the installed tip by hand.
- Operate only if the tip remains positively retained and there are no leaks or damaged parts.
A pressure washer nozzle keeps falling out problem is often limited to a worn tip or faulty wand retainer, but it is not a defect to ignore. A positive lock, compatible parts, and a careful pressure-free inspection are the right baseline before the trigger is pulled again.


