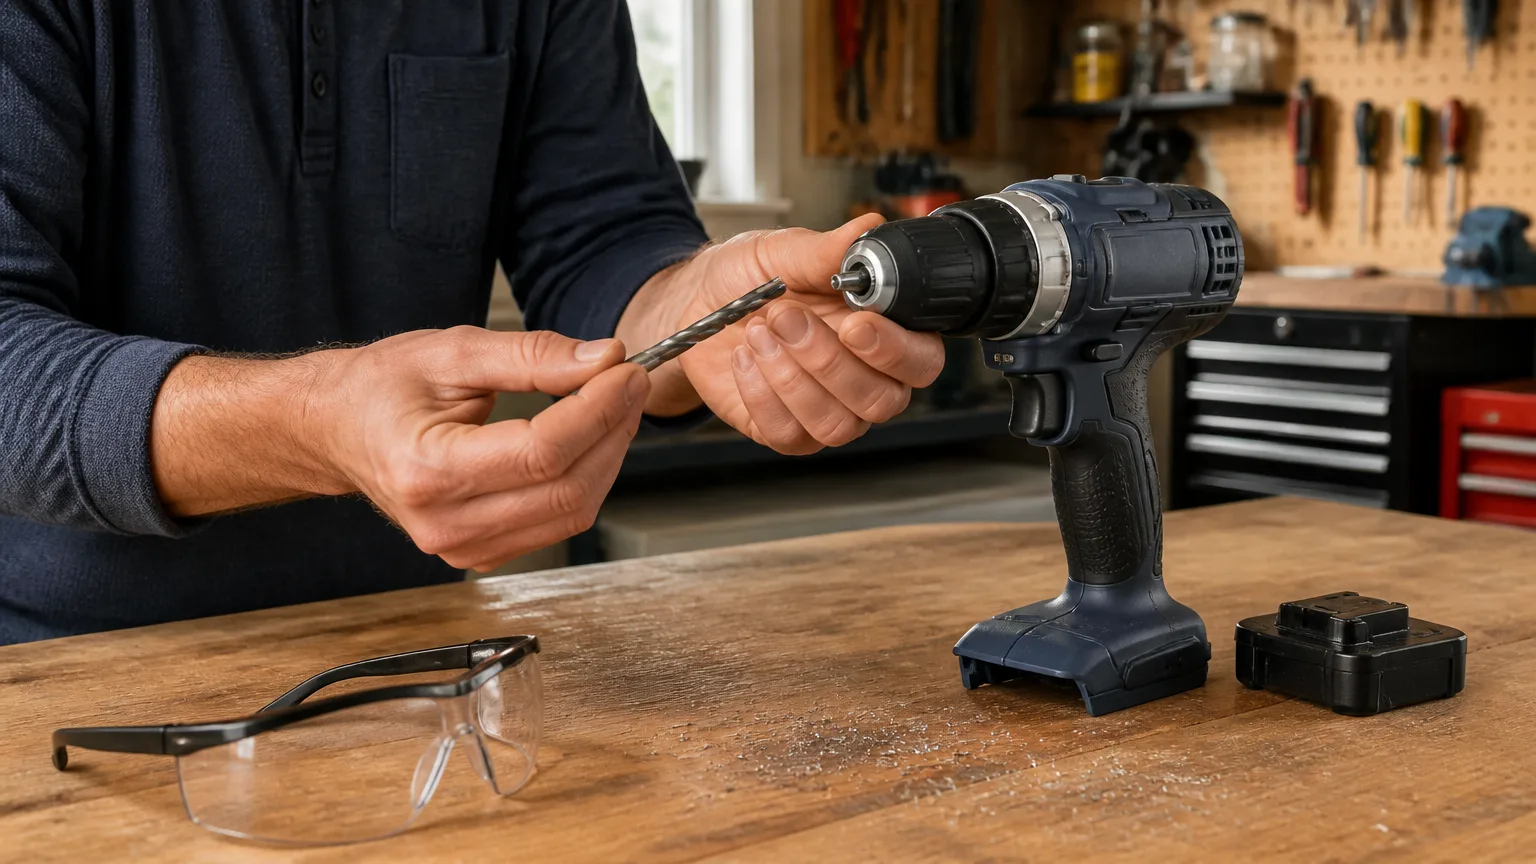
Cordless Drill Chuck Keeps Loosening: Bit, Chuck, and Spindle Checks
When a cordless drill chuck keeps loosening, the immediate problem is usually a bit that slips, wobbles, or drops out during drilling or driving. That does not automatically mean the drill is finished. A worn bit shank, dirty chuck jaws, incomplete tightening, or a failing chuck can all produce similar symptoms.
The useful approach is to start with the removable parts and basic setup. Then move toward checks that may point to a damaged chuck or a problem farther back at the spindle. Do not take the drill apart or attempt chuck removal unless the exact owner’s manual supports that procedure for your model.
Safety: Remove the battery before changing bits, inspecting the chuck, or cleaning around the jaws. Wear eye protection during use, keep hands away from rotating accessories, and stop using the drill if the bit ejects, the chuck visibly wobbles, or the tool is damaged.
Why a cordless drill chuck keeps loosening
A keyless chuck holds an accessory by closing multiple jaws evenly around its shank. It needs clean jaw faces, a suitable accessory shape and size, and enough hand-tightening force to stay clamped under vibration and load.
Many cordless drills also use a spindle-lock mechanism to make one-handed chuck changes easier. That mechanism is not a substitute for fully tightening the sleeve. On some models, the chuck may click or ratchet as it approaches tightness; follow the instructions in your own manual rather than relying on a fixed number of clicks.
In practical terms, the most common causes are:
- A smooth, undersized, damaged, oily, or rounded bit shank.
- A bit seated crookedly or clamped at the very bottom of the chuck.
- Dirt, metal chips, or dried residue preventing the jaws from closing evenly.
- A chuck sleeve that was not tightened fully by hand.
- Worn, chipped, or sticking jaws inside the chuck.
- Chuck runout, a loose chuck mounting, or spindle damage after a hard drop or repeated heavy binding.
Diagnostic order: start with the bit and setup
Work through these checks in order. Stop once you find a clear cause. Testing with a known-good bit is important because a damaged accessory can make a healthy chuck look bad.
- Remove the battery and open the chuck fully. Look into the jaws with good lighting. Check for obvious chips, packed debris, rust, or jaws that do not appear to move together.
- Inspect the bit shank. Look for polished flats, gouges, burrs, rust, paint, oil, or a section that has been chewed up by prior slipping. Replace a questionable bit before blaming the drill.
- Confirm the bit is appropriate for a three-jaw chuck. Standard round-shank drill bits and many hex-shank accessories can be clamped, but the jaws must grip a solid, straight section of the shank. Very short driver bits may need a proper bit holder rather than direct chuck clamping.
- Clean the contact areas dry. Wipe the bit shank and accessible chuck-jaw surfaces with a clean, dry cloth. Carefully remove loose debris without forcing anything into the chuck. Do not flood the chuck with lubricant or solvent; use only maintenance methods permitted by the drill manufacturer.
- Install the bit squarely. Place the bit between the jaws, center it, and avoid trapping it against only one jaw. Manufacturer instructions for keyless chucks commonly call for seating a drill bit, then lifting it slightly off the bottom before final tightening.
- Tighten the chuck by hand. Hold the drill securely and turn the chuck sleeve in the tightening direction until it is firmly clamped. On a two-sleeve chuck, hold the rear collar while turning the front sleeve. Do not hold the bit and run the drill to tighten the chuck.
- Make a controlled low-load test. Reinstall the battery, point the drill away from people and the workpiece, and run it briefly at low speed. Then remove the battery and verify whether the bit has shifted or the sleeve has backed off.
Check the bit before assuming the chuck failed
If the drill bit keeps slipping in chuck, begin by comparing two accessories: the bit that slips and a clean, straight replacement bit of a similar usable shank size. If only one bit slips, the bit is the likely issue.
Common bit-related problems
- Worn shank: Repeated slippage can polish or score the gripping area. Once the metal is badly marred, the jaws may not hold consistently.
- Shank too small for the job: A tiny bit can be more sensitive to imperfect jaw alignment, especially under side load. Use a bit within the chuck capacity specified for the drill.
- Bit not centered: A bit clamped off-center can wobble. Wobble increases side load and may work the bit loose.
- Wrong area clamped: The chuck should grip the bit shank, not the flutes of a twist drill or the tapered portion near a cutting end.
- Driver-bit mismatch: If a short insert bit is barely captured, use a compatible magnetic or locking bit holder instead of asking the chuck to grip too little material.
Also consider the application. A dull drilling bit, an aggressive hole saw, or a bit that catches in dense material can create sudden torque. That force may reveal a marginal grip even when the chuck seems fine during a no-load test. Use the appropriate drilling mode, speed range, and accessory for the material. If bits are binding repeatedly, reduce the chance of kickback by improving work support and changing technique rather than forcing the drill.
Inspect and clean the keyless chuck
A keyless drill chuck will not tighten properly if its jaws cannot travel freely or close evenly. With the battery removed, open and close the chuck several times while watching the jaws. They should advance and retract together in a smooth, even pattern.
Light surface dust is one thing. Hardened material, corrosion, broken jaw edges, or one jaw that lags behind the others is more serious. Do not pry the jaws apart, hammer on the chuck, or force the sleeve with pliers. Those actions can damage the mechanism, distort the jaws, and make the cordless drill chuck problem worse.
What normal and abnormal movement can look like
- Usually normal: The sleeve turns smoothly, the jaws meet near the center, and a clean bit can be tightened securely by hand.
- Needs closer attention: The sleeve feels gritty, binds at one point, or requires unusually high force before the jaws start moving.
- Likely chuck damage: One jaw visibly sits lower than the others, the jaws cannot close concentrically, the sleeve slips without tightening, or bits loosen despite correct installation and multiple known-good bits.
Do not assume that a clicking chuck is broken. Some keyless chucks use a locking or ratcheting feel near full tightness. The important question is whether the jaws hold the accessory securely after the manufacturer’s specified tightening method.
Check for chuck wobble and spindle-related trouble
If every good bit slips or runs off-center, look beyond the jaws. A chuck that has been dropped, overloaded, or used while a bit repeatedly binds can develop visible runout. The spindle, gearbox, or chuck mounting may also be involved.
With the battery installed and a straight bit secured, run the drill briefly at a low speed while keeping clear of the rotating accessory. Watch from the side; do not place fingers near the bit. A slight visual imperfection is not a precise measurement, but obvious side-to-side wandering at the chuck body or bit shank is a reason to stop and investigate.
Remove the battery again and check whether the chuck body feels loose where it meets the drill. Do not try to tighten or remove it based on a generic online method. Some drills use an internal retaining screw with an unusual thread direction, and the removal process differs by model. Incorrect removal attempts can damage the chuck, spindle, or housing.
If the chuck began loosening after a drop, if the drill makes abnormal gearbox noises, or if the spindle visibly wobbles, an authorized service professional is the safer next step. A replacement chuck will not necessarily solve a spindle or gearbox fault.
When to replace a drill chuck
Knowing when to replace a drill chuck comes down to repeatable symptoms after you have ruled out the bit, installation, and basic cleaning. Replacement becomes reasonable when the chuck will not securely hold several clean, undamaged, correctly sized accessories.
Consider service or replacement when:
- The jaws are chipped, uneven, seized, or fail to close concentrically.
- The sleeve turns but no longer produces firm clamping force.
- Bits loosen under ordinary use even after careful hand tightening.
- The chuck has obvious runout or damage after impact.
- The chuck is loose on the spindle or the drill has signs of internal damage.
Before ordering parts, use the exact model number from the drill’s nameplate and consult its owner’s manual or an authorized service provider. Chuck type, capacity, mounting thread, retaining screw, and service procedure can differ even within one tool brand. Replacing a chuck with the wrong part can create a poor fit or an unsafe accessory-holding problem.
Habits that help prevent repeat loosening
- Use clean, undamaged bits and replace those with badly scarred shanks.
- Remove the battery before each bit change and tighten the chuck by hand as directed for the specific drill.
- Center drill bits in the jaws and avoid clamping on flutes or tapered sections.
- Use a bit holder for short insert driver bits when needed.
- Match the bit, speed, and drilling mode to the material to limit sudden binding.
- Stop immediately if a bit starts slipping; continued use can damage both the shank and chuck jaws.
- Set aside a drill that has been dropped or has obvious wobble until it can be inspected.
Battery condition can also affect how a cordless tool behaves under load, although it is not usually the direct reason a chuck mechanically loosens. If the drill is also losing power, refusing to charge, or stopping unexpectedly, see our cordless drill battery charging checks before replacing parts.
A chuck that stays tight with a fresh bit after cleaning likely needed better accessory setup. A chuck that continues to release multiple good bits is different: stop relying on it for demanding work, consult the exact manual, and arrange qualified service or the correct replacement part.