Air Compressor Regulator Will Not Adjust Pressure: Knob, Gauge, and Replacement Checks
When an air compressor regulator will not adjust pressure, the problem is not always the regulator itself. A stuck knob, misleading gauge, low tank pressure, blocked fitting, or an internal regulator fault can produce nearly the same symptom. The useful first step is to separate tank pressure from regulated outlet pressure before buying parts or changing adjustments.
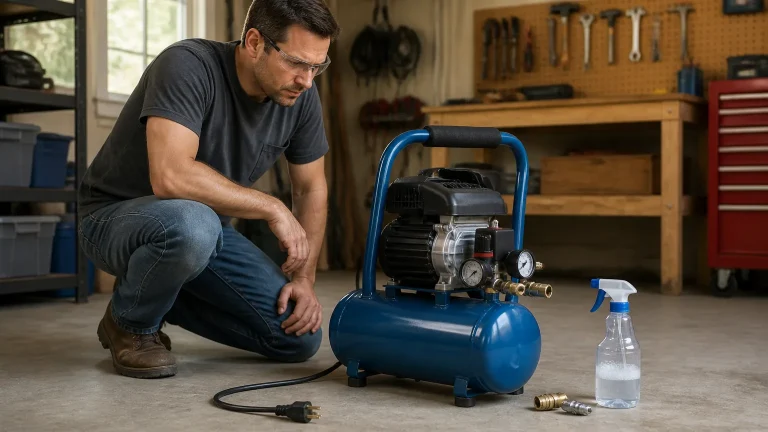
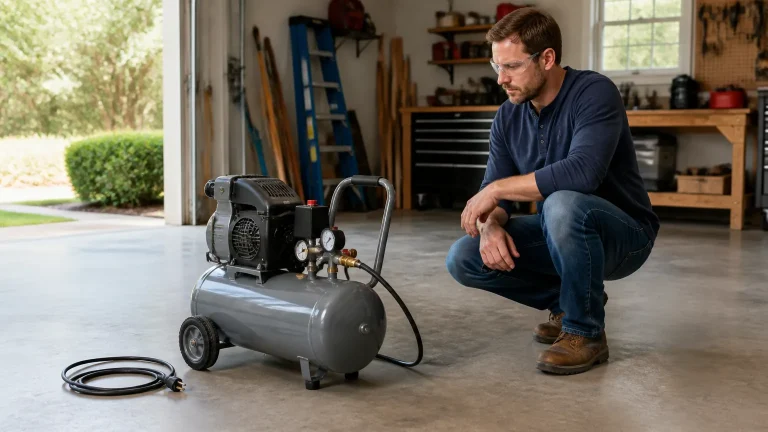
Safety: Shut the compressor off, unplug it, and bleed stored air before inspecting, removing, or replacing a regulator or fitting. Wear eye protection, keep clear of hose ends, and never defeat or alter the safety valve. Compressed air and loose fittings can release forcefully.
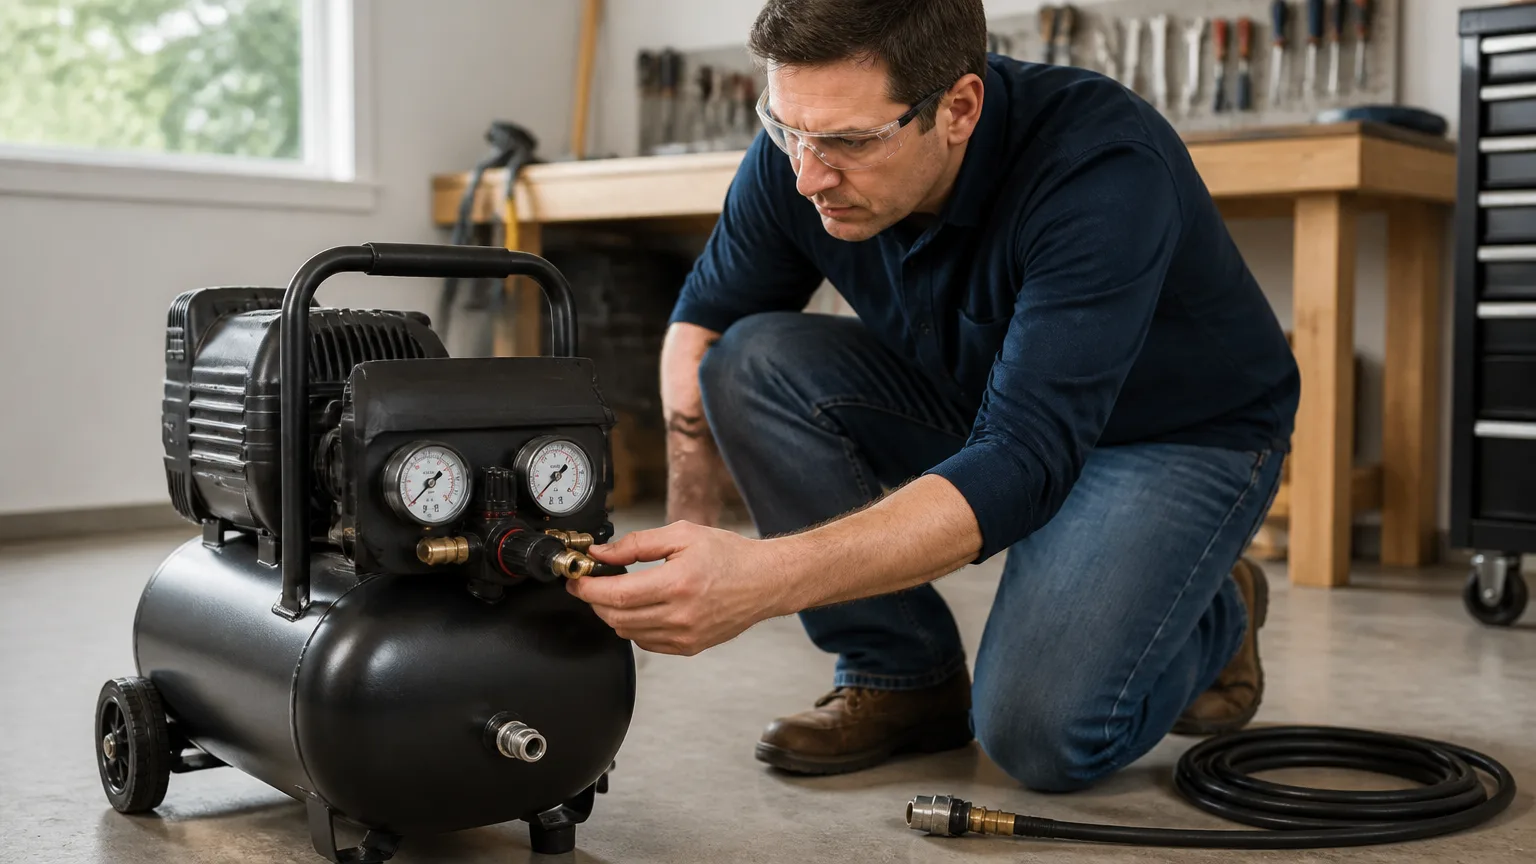
On a typical portable compressor, the tank gauge shows stored receiver pressure, while the regulated gauge shows pressure available at the outlet. The regulator knob changes the outlet-side setting, not the compressor’s factory pressure-switch cut-in or cut-out setting. DEWALT’s compressor manual describes this same distinction and specifies clockwise rotation to increase regulated outlet pressure and counterclockwise rotation to decrease it. ([dewalt.com](https://www.dewalt.com/GLOBALBOM/QU/DWFP55130/1/Instruction_Manual/EN/N268439_DWFP55130.pdf))
If tank pressure itself is climbing too high, the safety valve is opening, or the motor will not shut off, stop treating this as a simple outlet-regulator problem. See Air Compressor Safety Valve Keeps Opening: Pressure Switch and Overpressure Checks instead.
Air compressor regulator will not adjust pressure: identify the gauge first
Many compressors have two gauges placed close together. That layout makes it easy to watch the wrong one.
- Tank-pressure gauge: shows the reserve pressure in the tank. It rises as the compressor fills and normally changes as the pressure switch cycles the motor.
- Regulated-pressure gauge: shows the pressure after the regulator, at the hose outlet. This is the gauge that should respond when the air regulator knob is adjusted.
If you turn the knob and only the tank gauge changes, the regulator may be working normally. If the regulated gauge stays at the same reading while the knob moves through its range, continue with the checks below.
Use this diagnostic order before replacing anything
- Confirm the compressor has adequate tank pressure. Let the unit build pressure and stop normally, following the procedure in its exact owner’s manual. A regulator cannot provide an outlet setting above the available tank pressure. If the compressor cannot build or retain pressure, address that fault first; this guide on an air compressor that will not build pressure can help narrow down leaks and valve issues.
- Set the outlet to zero, then increase it slowly. With the hose and tool disconnected if your manual permits, turn the regulator counterclockwise toward zero, then turn it clockwise while watching the regulated gauge. Some regulator designs require several turns before the spring begins to change the setting.
- Compare the two gauge readings. A regulator that is turned fully up generally cannot show more outlet pressure than the tank contains. If the outlet gauge reads almost the same as the tank gauge at every knob position, the regulator may be stuck open, the knob-to-stem connection may be damaged, or the outlet gauge may be inaccurate.
- Check behavior with air flowing. Connect a known-good hose and an accessory rated for the intended pressure. Set a conservative pressure that is within the accessory manufacturer’s rating, then briefly operate the accessory. A reading that looks normal with no flow but collapses under use can point to restricted air supply, a failing regulator, a restrictive coupler, a clogged filter, or a demand problem rather than a simple adjustment issue.
- Inspect external parts only after depressurizing. Look for a cracked knob, stripped knob insert, loose retaining hardware, bent gauge, damaged quick-connect, obvious corrosion, or air leakage around the regulator body. Do not disassemble the regulator unless the exact owner’s manual provides that procedure.
What the symptom usually means
The knob turns freely, but outlet pressure never changes
An air regulator knob not working can mean the knob is no longer turning the internal adjustment stem. It can also mean the regulator’s spring, diaphragm, valve seat, or internal mechanism has failed. If the knob feels unusually loose, spins without reaching a stop, or has visible damage, replacement of the regulator assembly is often more realistic than an internal repair.
First verify that the outlet gauge is the one being observed. Then check whether the knob creates any change at all between its lowest and highest positions. If it does not, and tank pressure is normal, a failed regulator assembly or a failed regulated-pressure gauge becomes more likely.
The compressor outlet pressure is too high at every setting
If compressor outlet pressure is too high and remains close to tank pressure even after the knob is turned fully toward minimum, stop using sensitive tools, inflators, spray equipment, and accessories that could be over-pressurized. The regulator may be stuck in an open or high-output condition, or the gauge may be reporting incorrectly.
Do not attempt to compensate by changing the pressure switch or tampering with the safety valve. Those parts protect the tank and are separate from ordinary outlet-pressure adjustment. OSHA notes that air receivers use visible pressure gauges and spring-loaded safety valves, and that no valve should be installed between the receiver and its safety valve. ([osha.gov](https://www.osha.gov/laws-regs/regulations/standardnumber/1910/1910.169?utm_source=openai))
With an outlet that cannot be reduced, the safe repair path is usually to take the compressor out of service for that task and consult the manual or an authorized service professional. Use only tools and accessories whose pressure ratings are known; the compressor manual warns that regulator outlet pressure must not exceed the maximum rating of the connected tool or accessory. ([dewalt.com](https://www.dewalt.com/GLOBALBOM/QU/DWFP55130/1/Instruction_Manual/EN/N268439_DWFP55130.pdf))
The outlet gauge stays at zero even when the knob is raised
Start by confirming there is tank pressure. Then make sure the regulator is being turned in the correct direction for that model. On many compressors, clockwise increases outlet pressure, but the exact manual controls if its instructions differ.
If the tank is charged and the regulated gauge remains at zero, likely possibilities include an internally stuck regulator, a disconnected or damaged adjustment mechanism, a blocked outlet path, or a failed gauge. A hose coupler that is not fully seated can also prevent expected airflow. Avoid poking wire, nails, or improvised tools into pressurized fittings.
The regulator adjusts, but pressure drops heavily when a tool runs
This is often mistaken for an air compressor regulator stuck problem. The regulator may be set correctly at rest, yet the system cannot maintain that pressure when the tool consumes air. Check the tool’s required operating pressure and air demand, hose length and condition, couplers, filters, and whether the compressor is keeping up. A pressure drop under load is not proof that the gauge or adjustment knob has failed.
Start at the lower end of the tool manufacturer’s recommended pressure range and increase only as needed. Lower regulated pressure can also reduce noise and unnecessary energy use, but it must still be sufficient for the tool’s intended operation. ([obis.osha.gov](https://obis.osha.gov/dts/osta/otm/new_noise/?utm_source=openai))
Gauge checks that prevent a wrong diagnosis
A damaged gauge can make a working regulator look defective. With the compressor off and fully depressurized, both gauges should return to zero. A needle that remains above zero, sticks, shakes excessively, has a cracked lens, or appears physically damaged is suspect.
For a clearer comparison, an appropriate known-good test gauge can be connected to the regulated outlet using fittings rated for the compressor’s pressure. If you do not already have compatible, pressure-rated test equipment, do not assemble a makeshift setup. An authorized service provider can verify outlet pressure and determine whether the regulator or gauge is at fault.
When air compressor regulator replacement makes sense
An air compressor regulator replacement is reasonable when the outlet pressure will not respond to adjustment, the regulator leaks from its body or knob area, the knob mechanism is broken, or the regulator has been diagnosed as defective after the basic checks. Replace the assembly rather than trying to restore a corroded or internally damaged regulator with improvised parts.
Match the replacement to the exact compressor model and original configuration. The correct part must suit the fitting size and thread type, airflow needs, pressure rating, gauge arrangement, and direction of air flow. Similar-looking regulator assemblies are not automatically interchangeable. If the parts diagram or manual does not identify the correct assembly, use the manufacturer’s authorized parts or service channel.
Because replacement involves a pressurized system and may involve threaded fittings, consult the exact owner’s manual or an authorized service professional if you are uncertain. The compressor must be disconnected from power and fully depressurized before any repair. DEWALT likewise directs users to disconnect the power source and bleed all air pressure before maintenance or repair. ([dewalt.com](https://www.dewalt.com/GLOBALBOM/QU/DWFP55130/1/Instruction_Manual/EN/N268439_DWFP55130.pdf))
Do not confuse these parts with the outlet regulator
- Pressure switch: starts and stops the motor based on tank pressure; it is not the normal control for air-tool pressure.
- Safety valve: an overpressure protection device; never plug, adjust, bypass, or substitute it with an unapproved part.
- Tank drain: removes accumulated moisture from the receiver; it does not set outlet pressure.
- Check valve: helps retain compressed air in the tank; it does not regulate tool pressure.
Bottom line
If an air compressor regulator will not adjust pressure, verify the regulated outlet gauge, confirm the tank has adequate pressure, test the knob through its full range, and observe what happens when air is flowing. A regulator that cannot lower dangerously high outlet pressure, leaks, has a broken knob, or does not respond at all should be removed from service until the correct regulator or gauge repair is completed. Keep the pressure switch and safety valve out of the troubleshooting experiment, and follow the instructions for your exact compressor model.